Before we begin, head over to snowshoestamp.com to login or create an account.
Once logged in you should see your applications. The Developer Portal is your one-stop-shop for creating, modifying, and monitoring all of your SnowShoe applications. It should look something like this:

The applications view lists all of your SnowShoe apps. If you followed our First App Wizard, the app you created should be listed here.
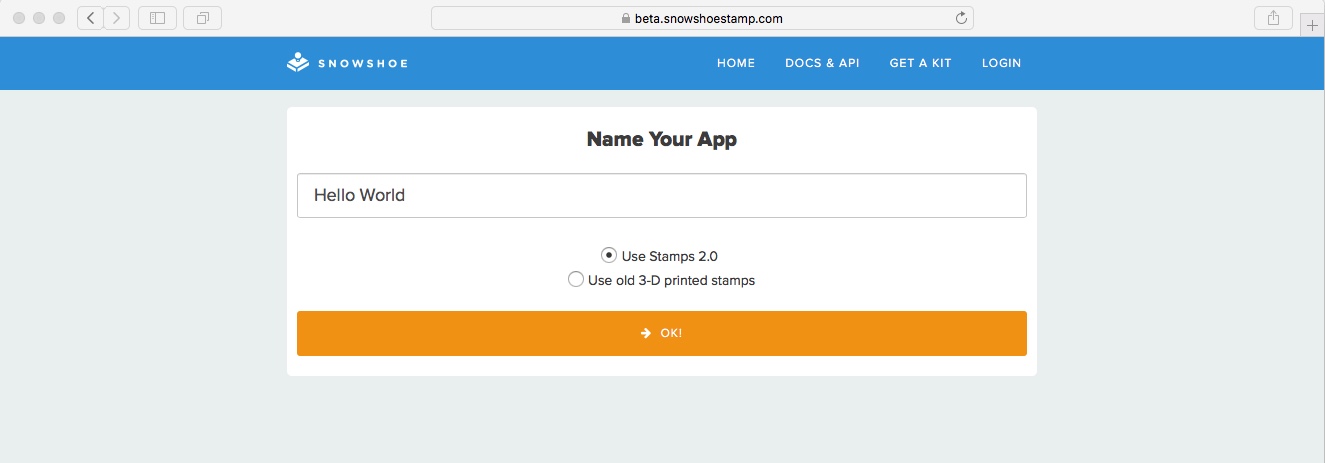
Click the blue “New App” button. This will bring up the next screen to create your new app:

Enter a name for your application in the "Name Your App" field. Make sure the "Stamps 2.0" button is selected and then click the "OK!" button.
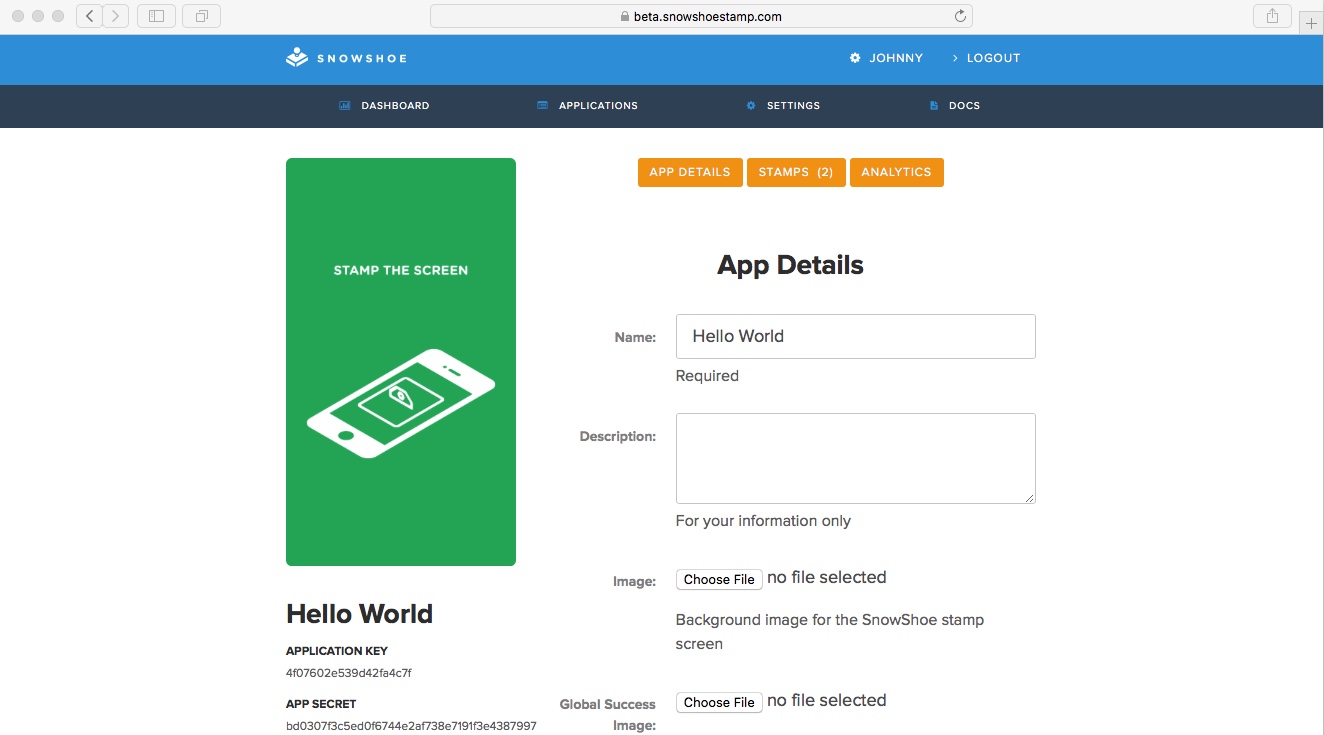
On a successful save, the "App Details" page comes up that displays your new application’s name, Application Key, and Application Secret.

With your newly created application key and secret you're ready to head to Part 1: Stamp Screen.
