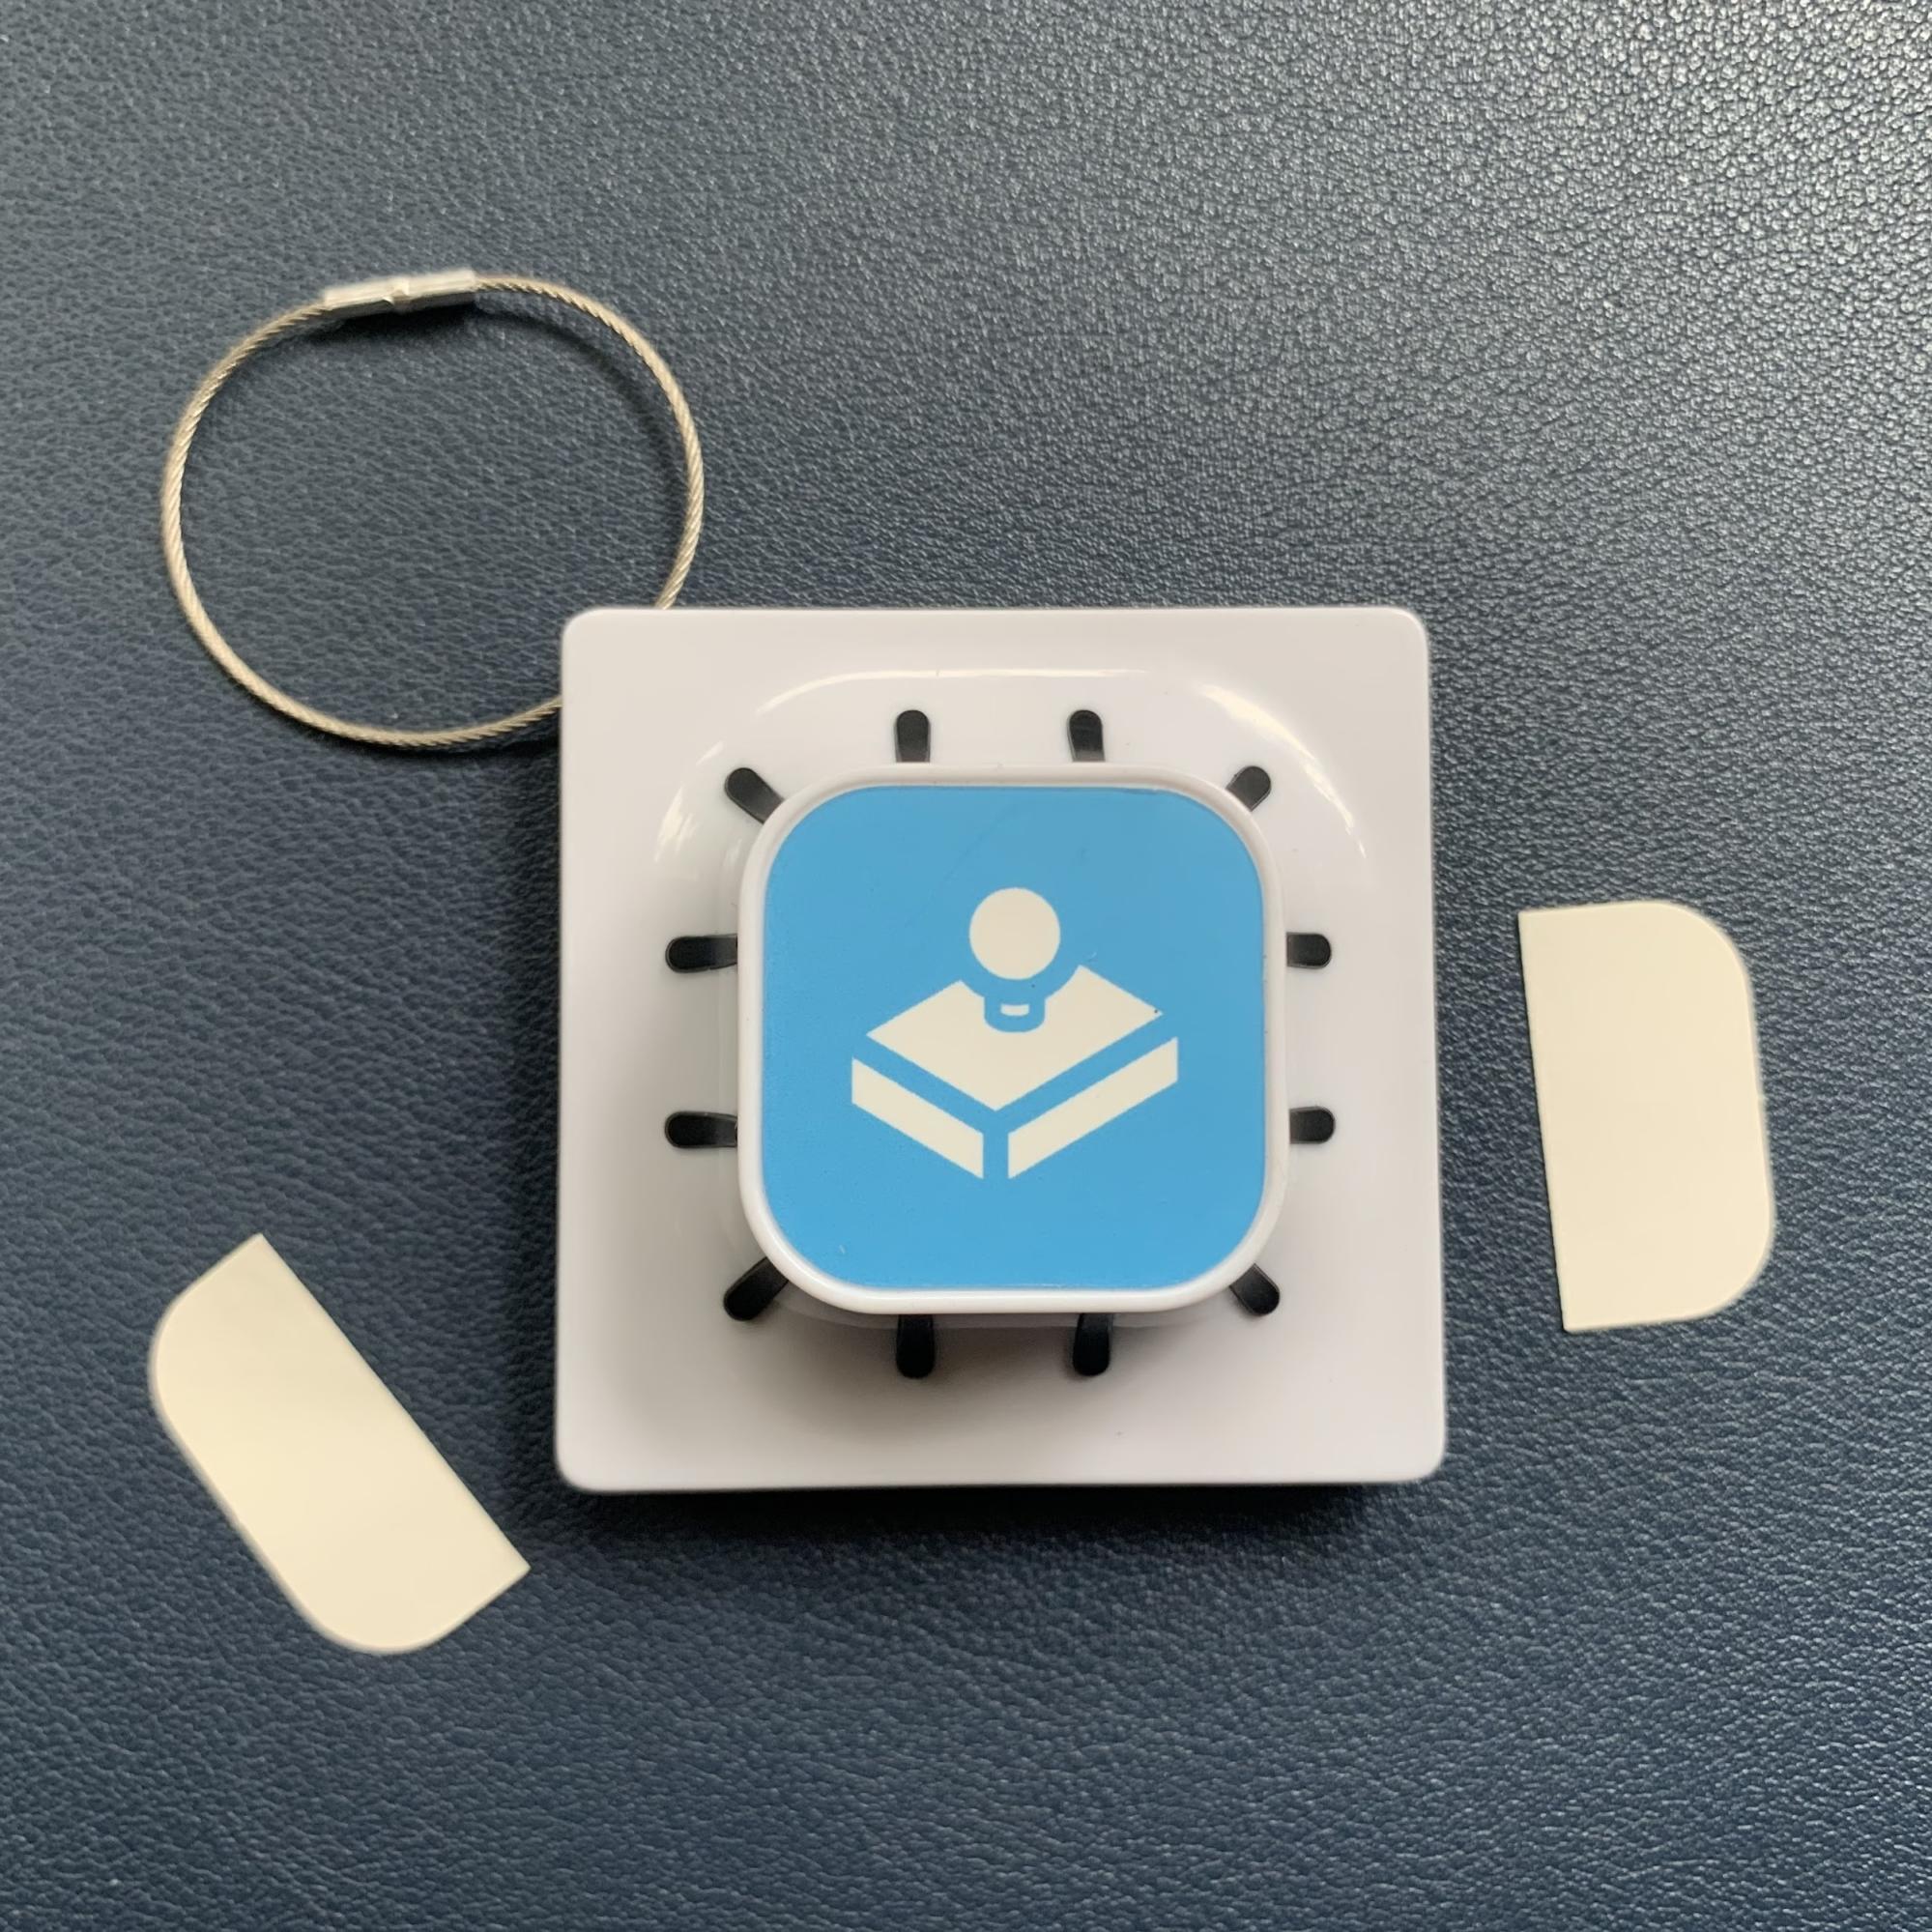
We're big fans of adding high quality vinyl stickers to the tops of our stamps. Follow the instructions below to customize your stamps.
Download sticker template (ai)
Design your sticker
Open the template above in Adobe Illustrator, make your edits, and save. For optimal prints, be sure to create artwork using CMYK color mode and change all text to outlines before saving.
Upload your artwork to a sticker printer
- SnowShoe loves StickerGiant - visit their site and click Get Stickers.
- Choose 'Die Cut' stickers.
- Select ‘Glossy’ for a durable laminated sticker or ‘Matte’ for a less durable but more organic finish.
- Choose a 'Custom Shape'
- Enter W: 1" and H: 1"
- Select your quantity. For smaller quantities you can use Sticker Mule as an alternative provider.
- Upload your sticker file
- When prompted for additional instructions, enter "Please trim the white portions off the corners. The final sticker should have rounded corners. Thanks!"
- Checkout
- Wait for your proof. The quicker you approve your design, the quicker you will get your stickers.
Printing Lead Times
Keep in mind the lead time you need for your sticker order to arrive so you have time to assemble them. Most vendors support rush orders, but we suggest placing your order two weeks before your event to keep shipping costs at a minimum. This should get you your stamps about one week prior to your event.

Sticker Application
Applying stamp stickers is a simple process. Here are a few tips to get great results.
Start by only opening one box of stamps at a time to avoid mixing up serial numbers between boxes.
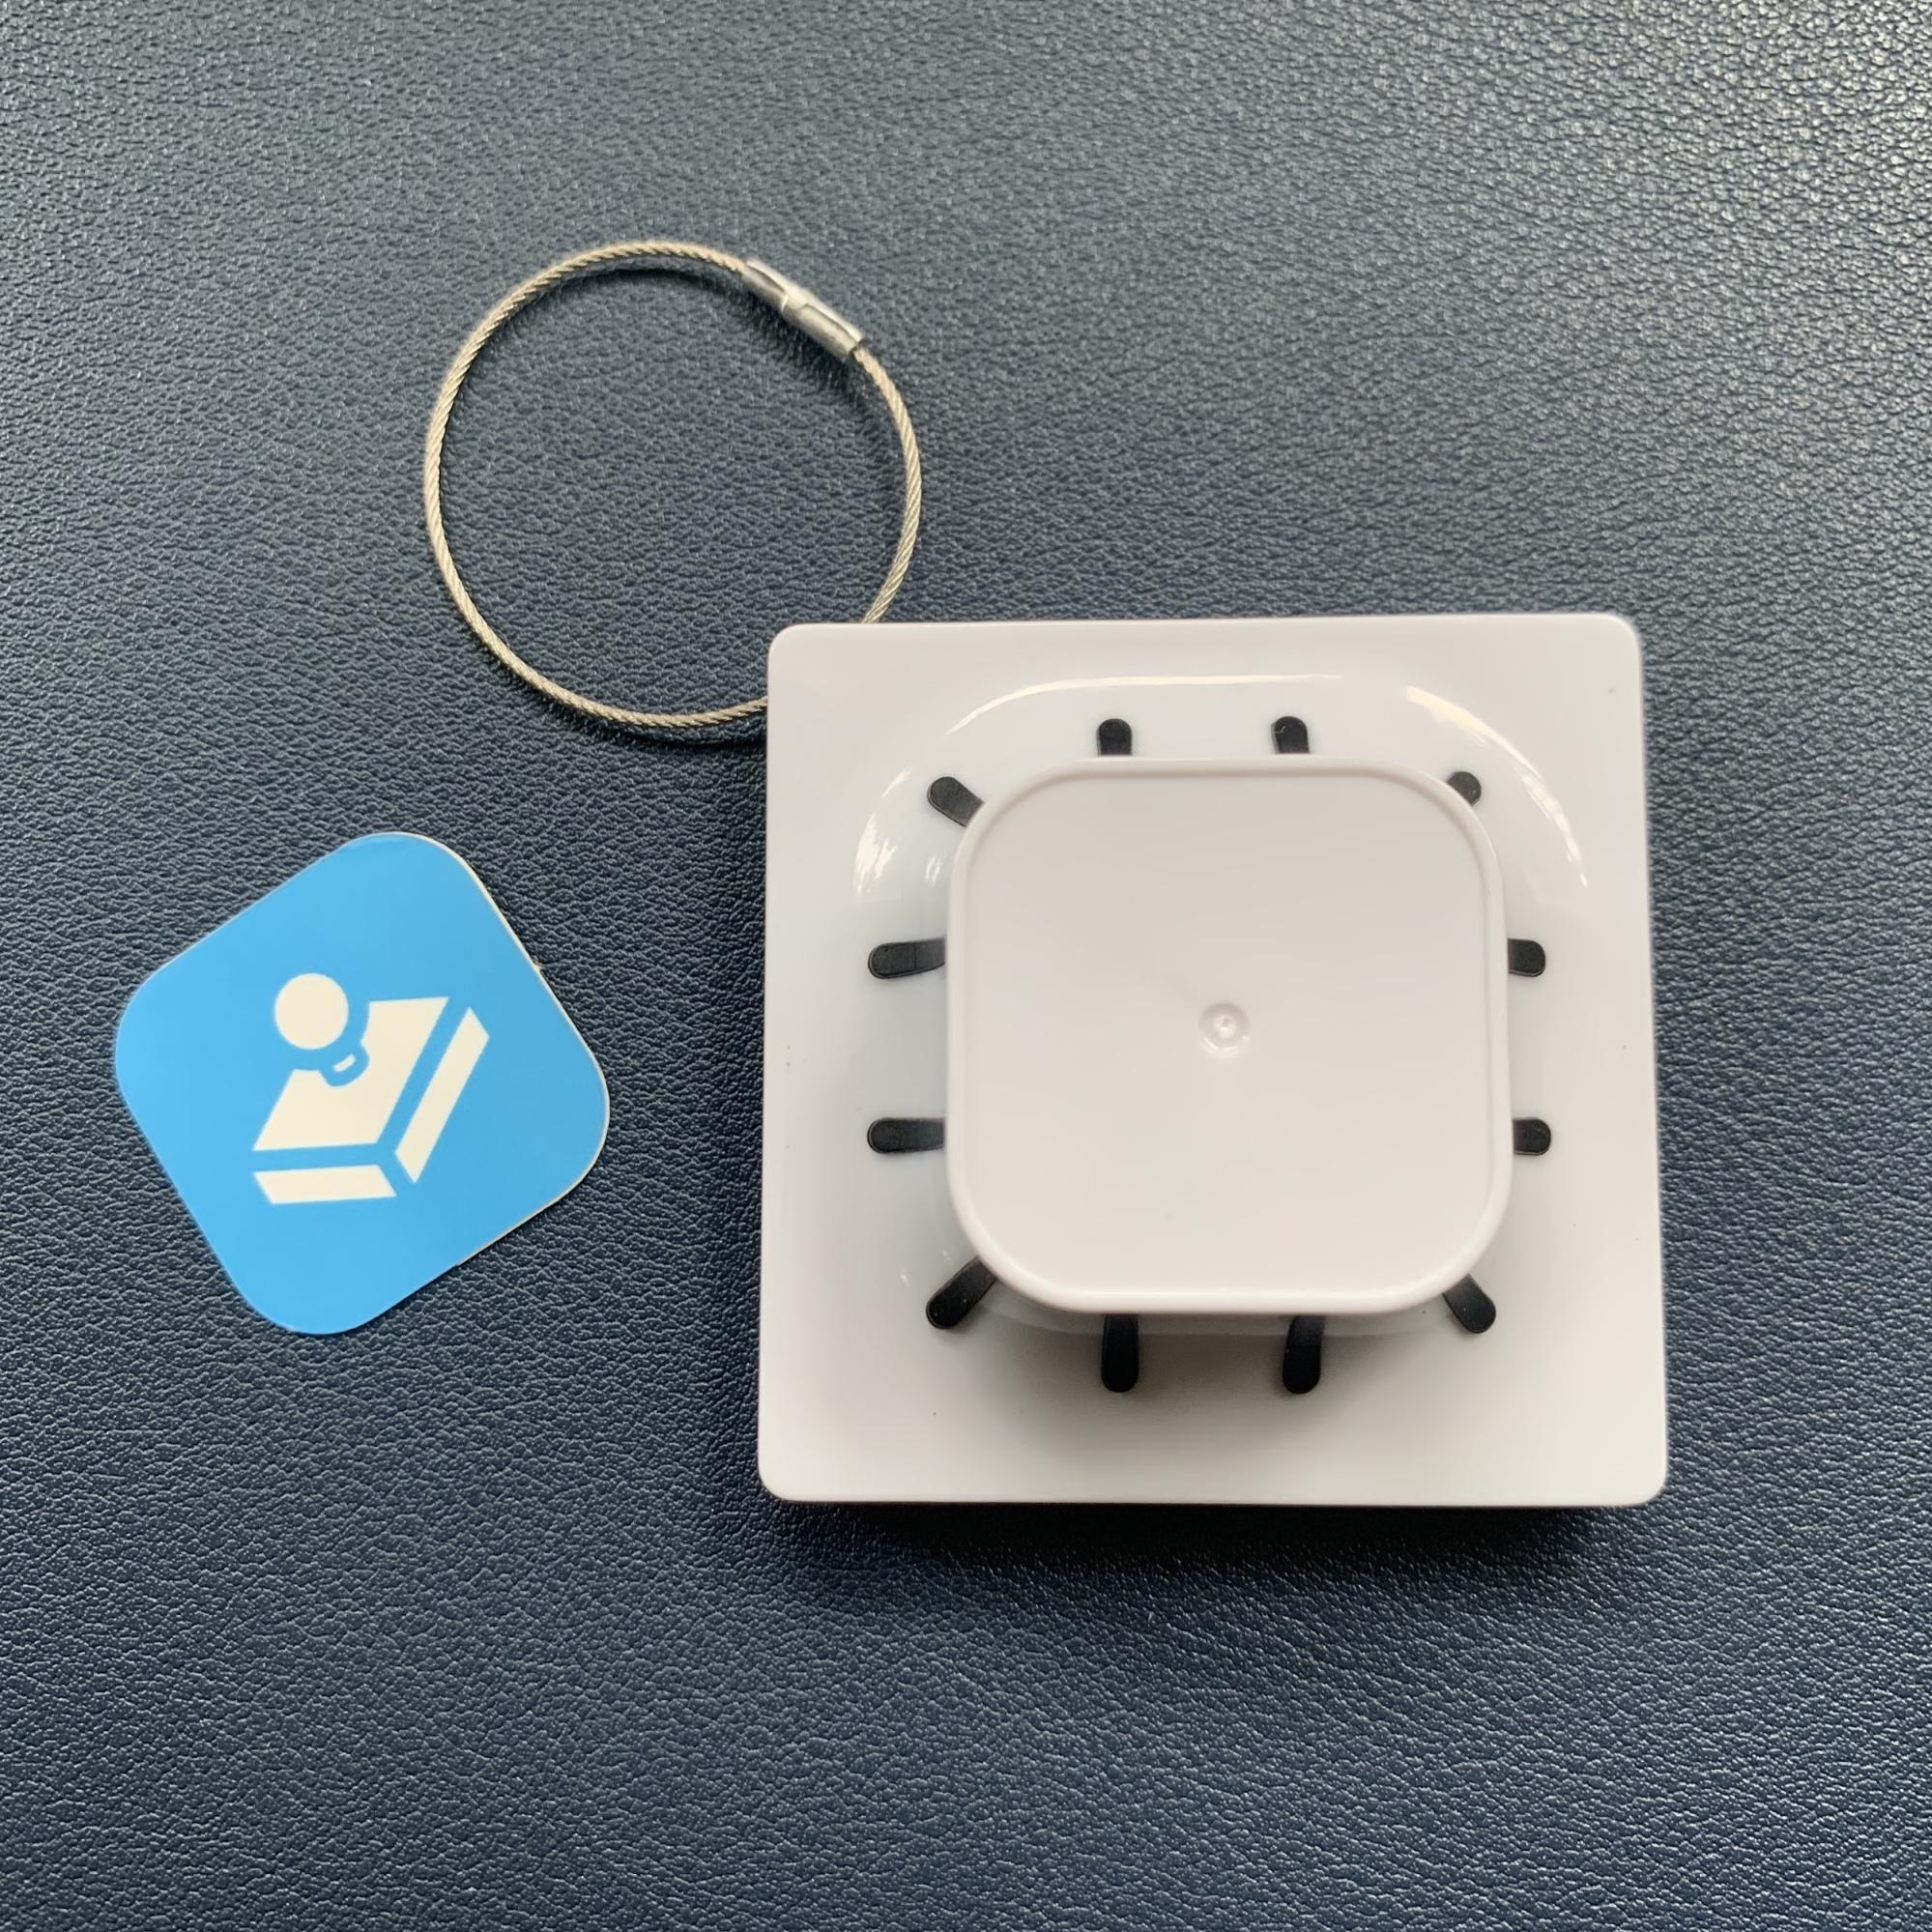
Sticker Giant uses a crack and peel backing that makes removing the backing and aligning the sticker easier.
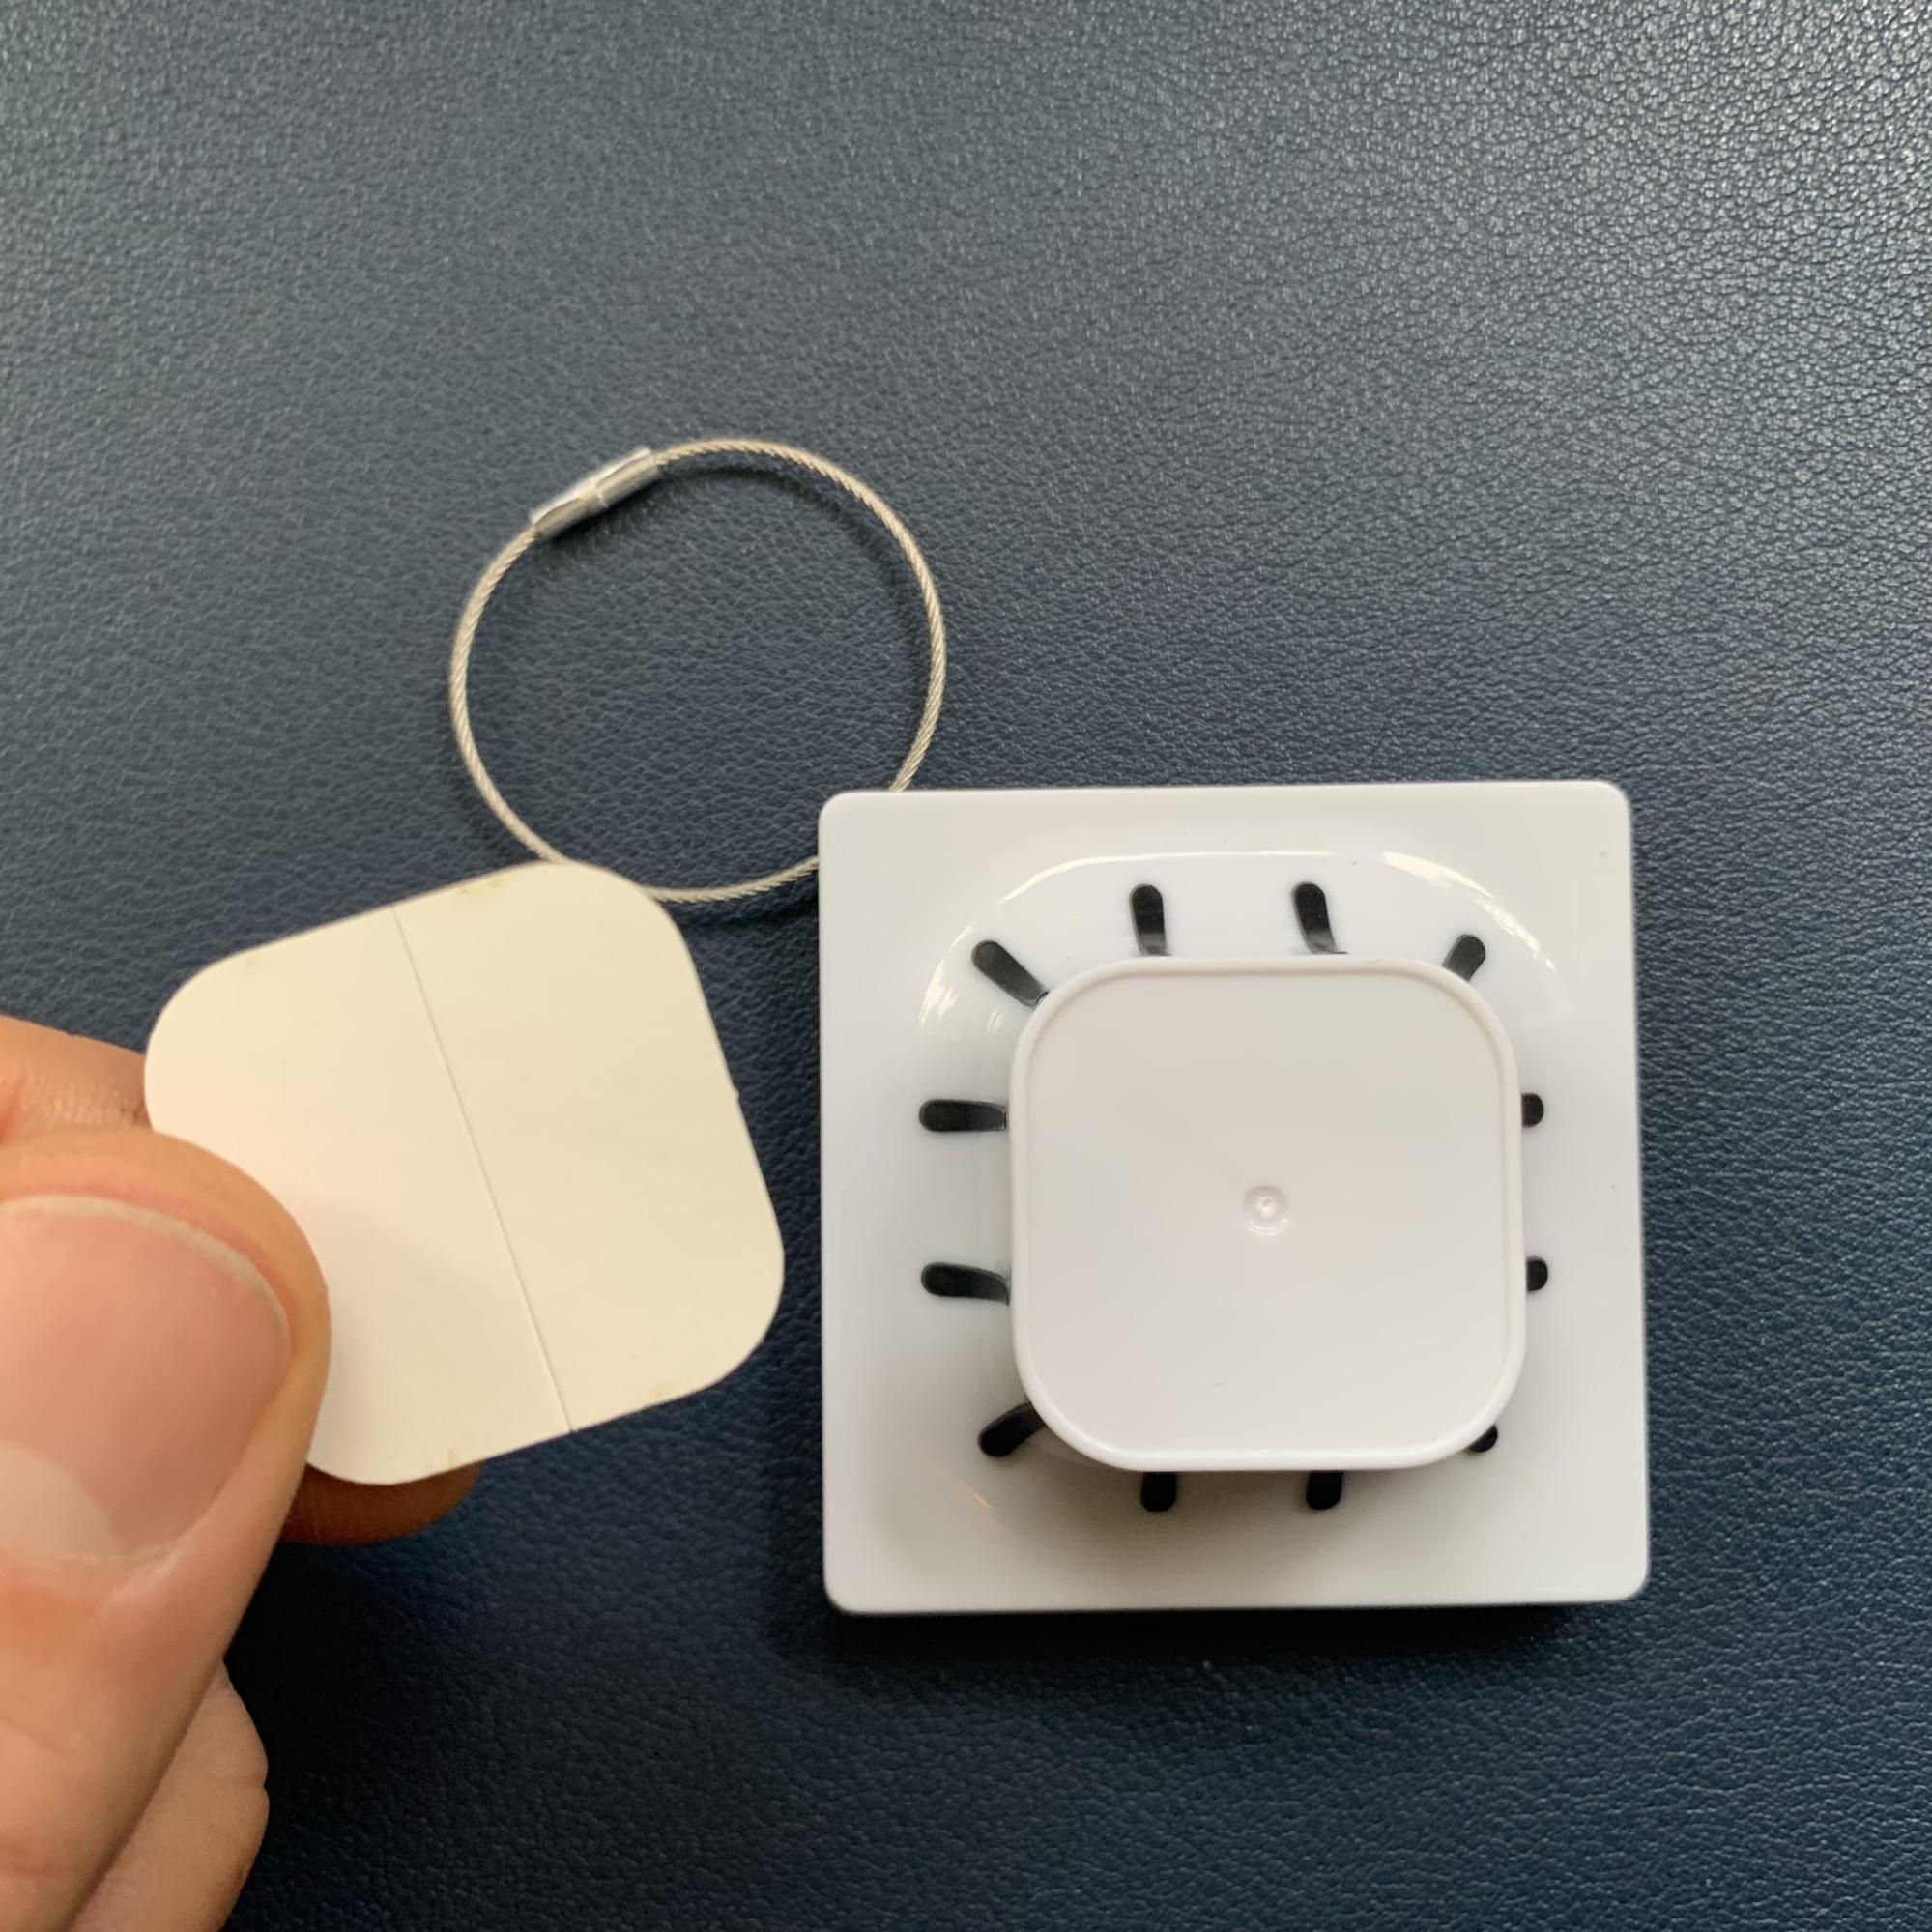
Lightly bend the sticker and then remove one half of the backing material.
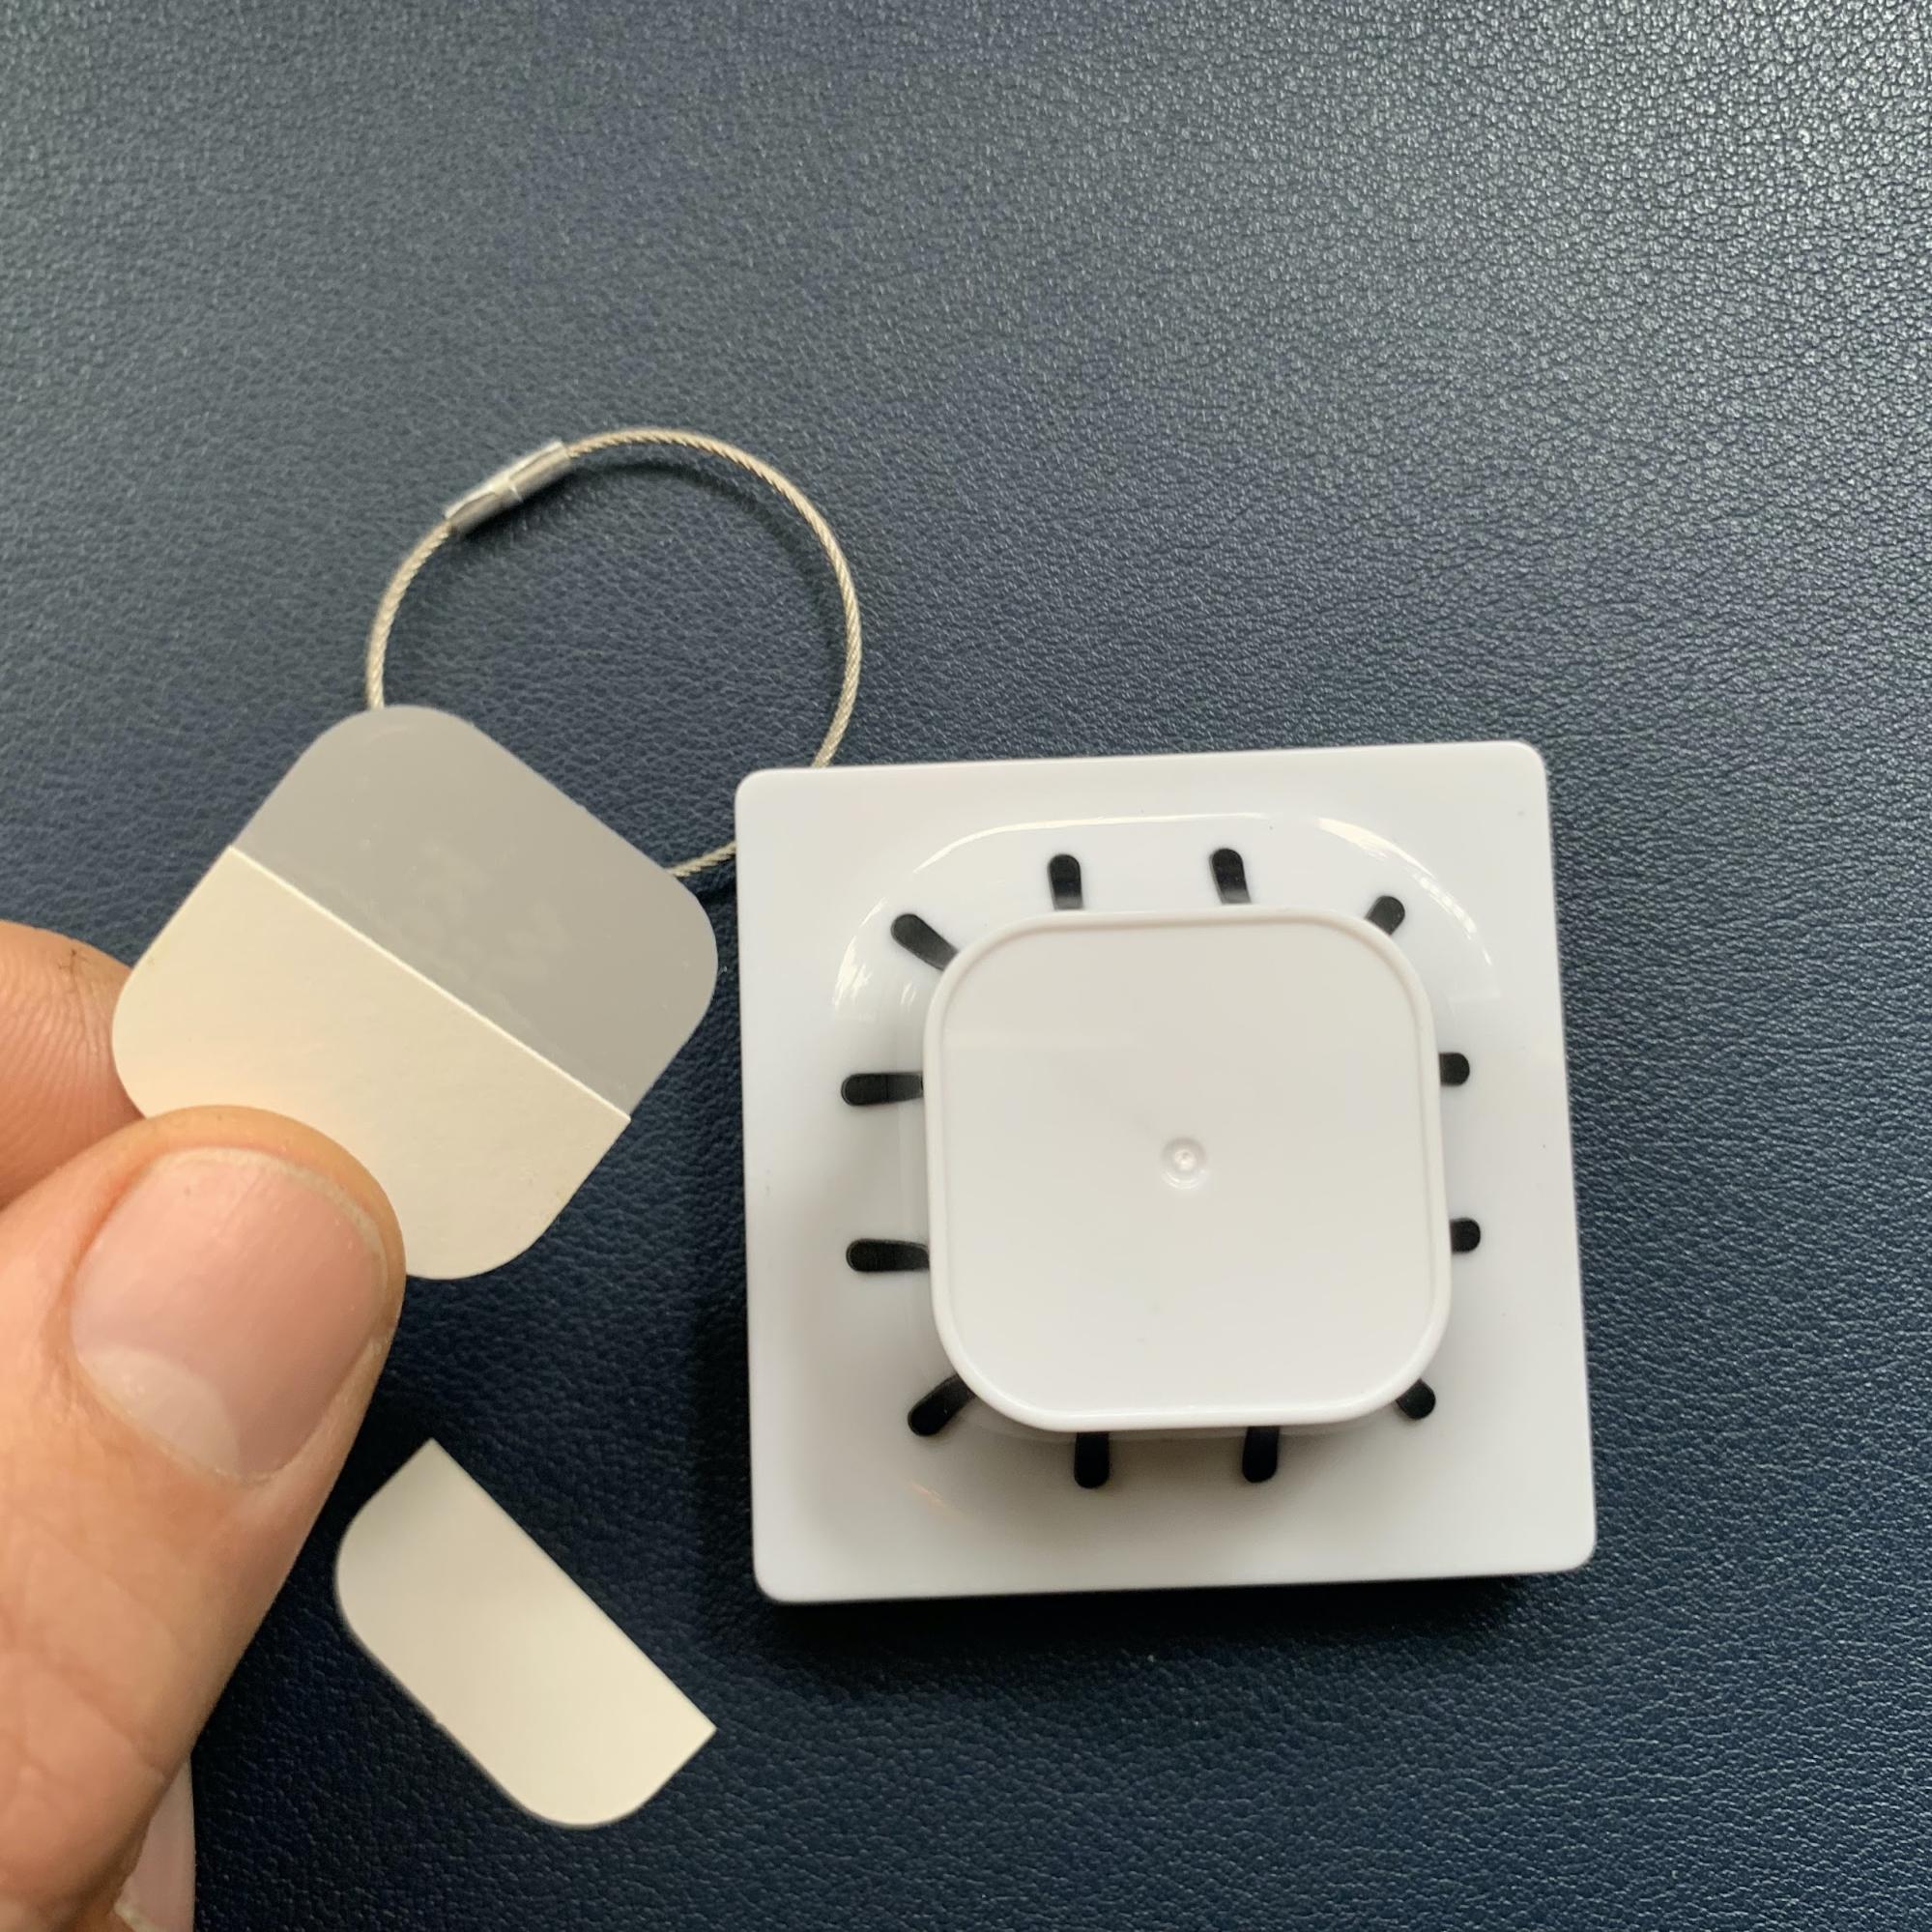
Align the sticker in the handle’s sticker well in your preferred orientation and attach the edge of the sticker.
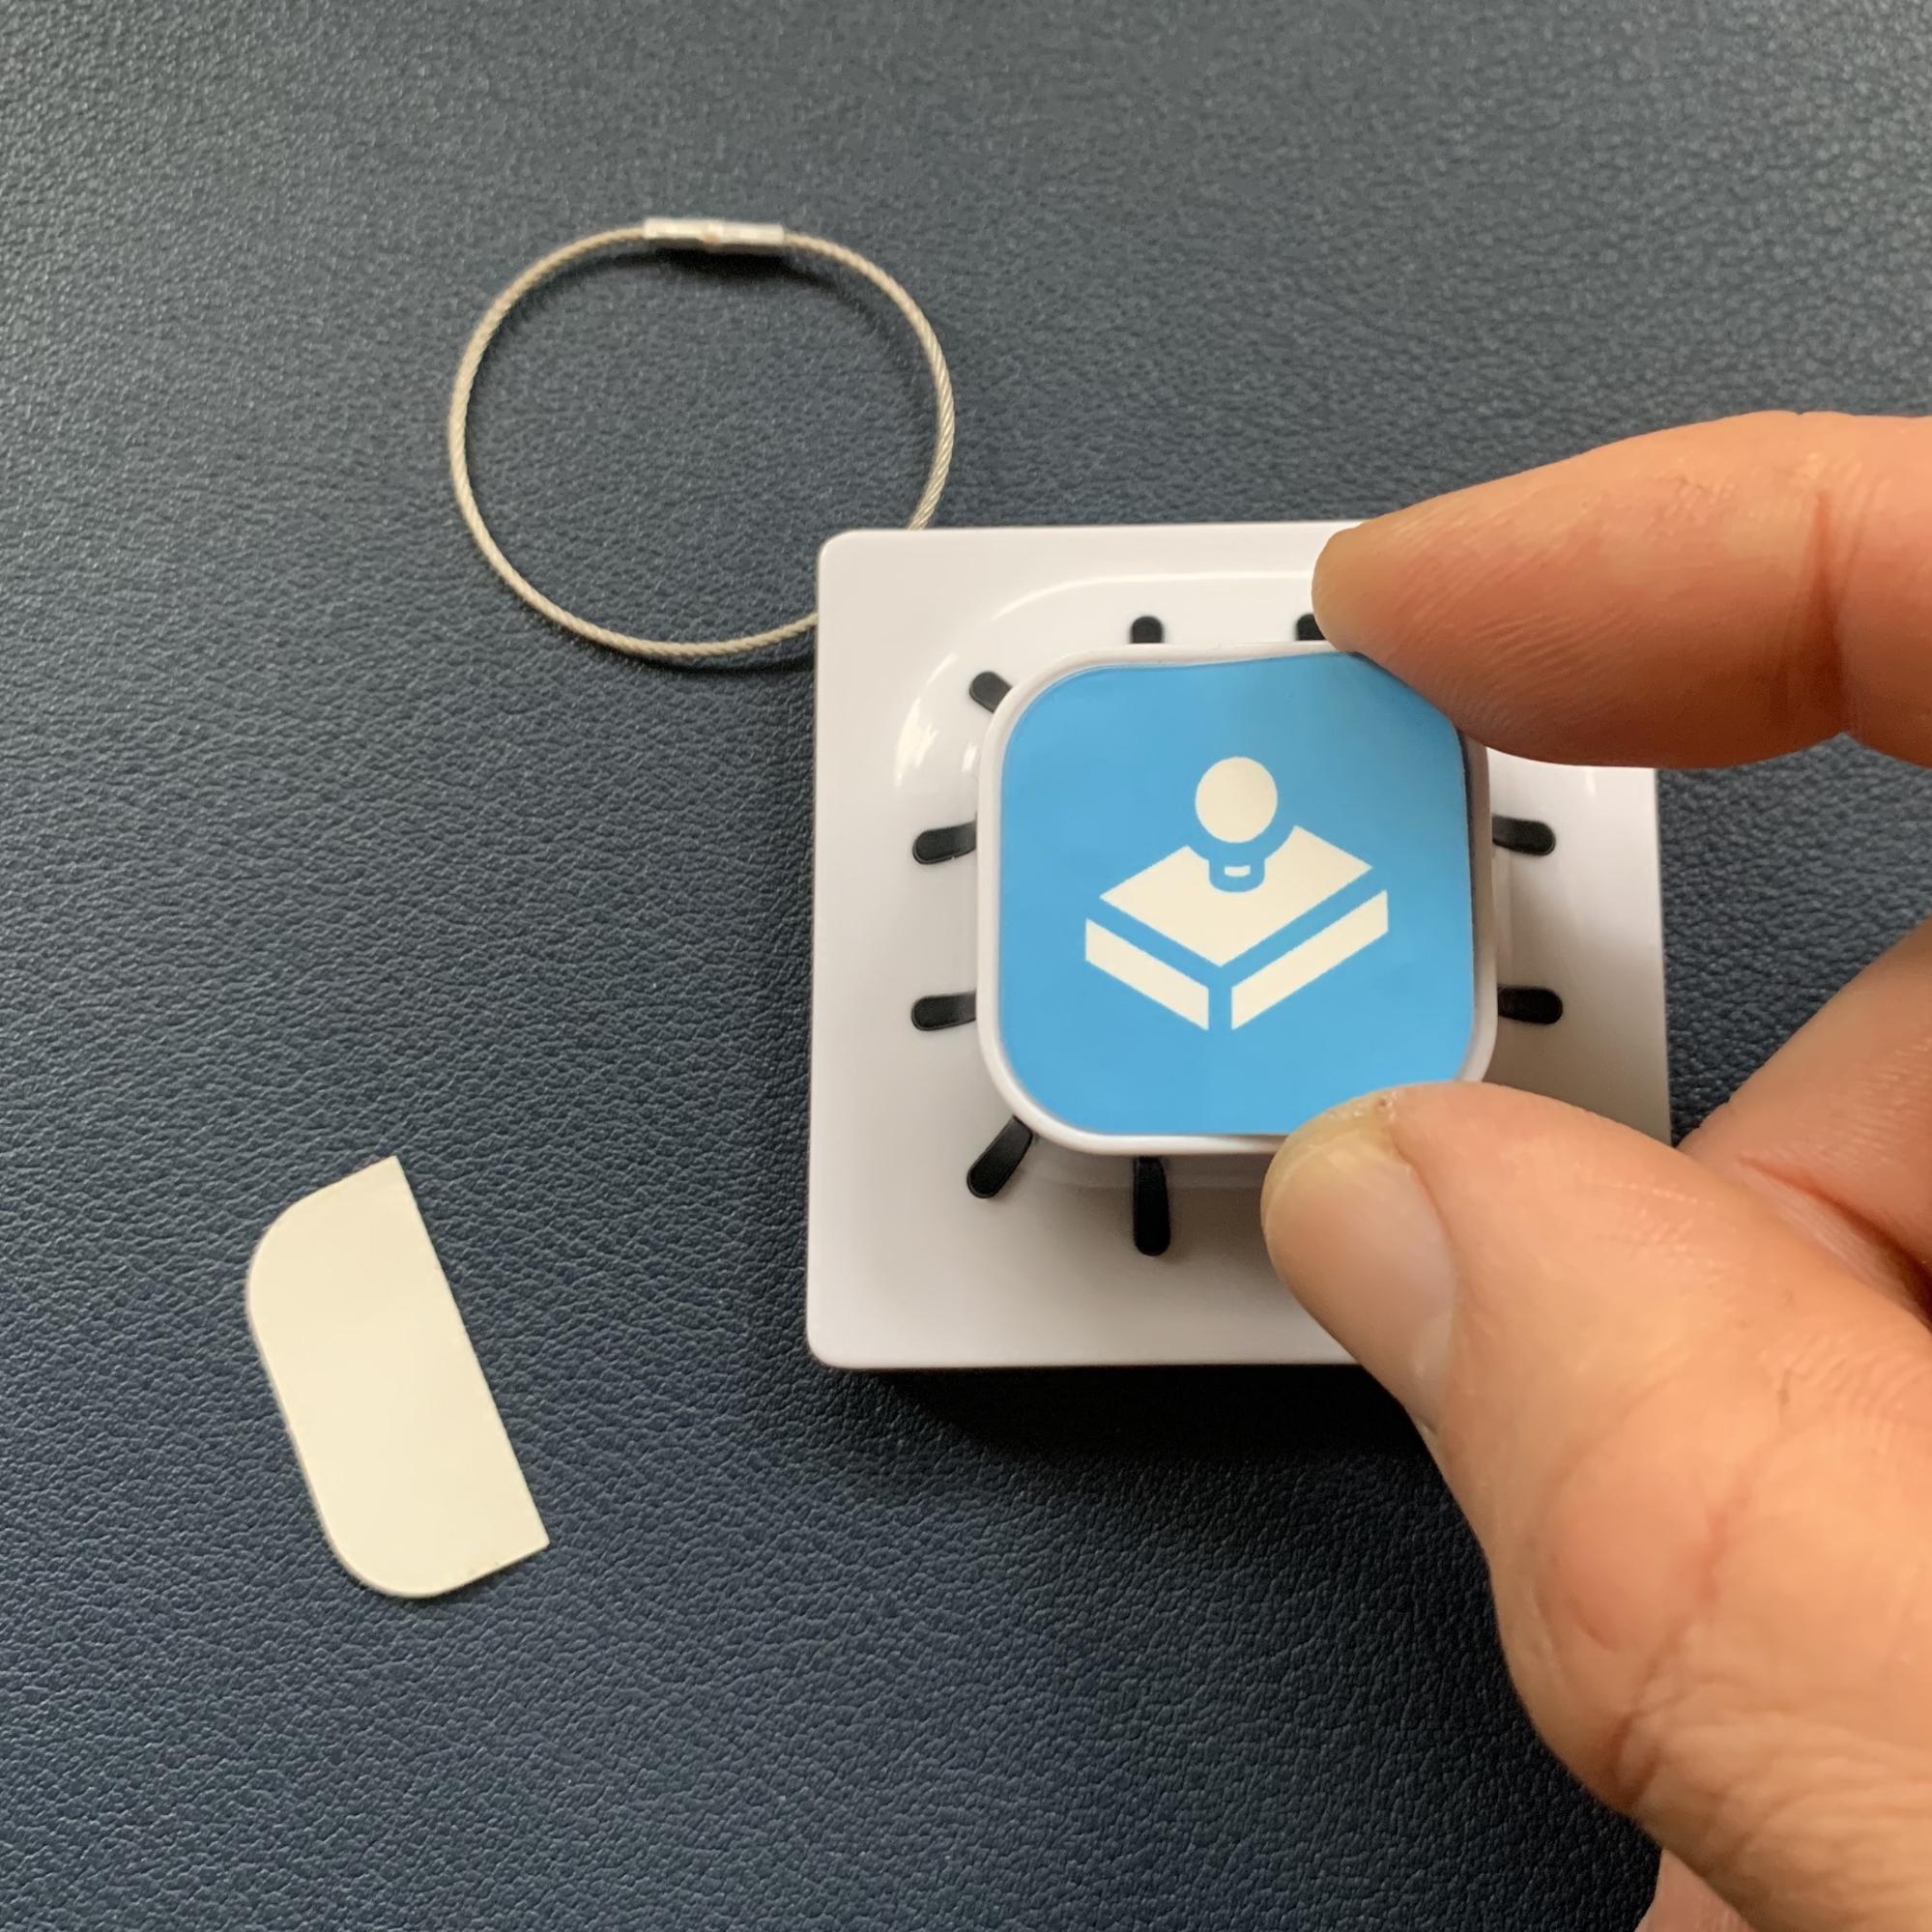
Once the stamp is aligned correctly you can remove the remainder of the backing material and press the sticker into place.
